Deleting and restoring documents
The system administrator can delete any document on the instance and, from version 3.3.0, restore a deleted document or put a canceled or expired document back in its flow.
Deleting a document of any organization
- In the Admin area, click Organizations and open the organization or personal account. See Finding the organization or personal account.
- Click Folders and open the document's folder.
- On the document's row, click the trash icon (Delete).
- Confirm. Signer shows Document deleted successfully.
To delete several documents, check them and click Delete selected.
From version 3.3.0, you can also delete documents from the organization's Documents list, including the ones outside folders: check the documents and click the trash icon at the top of the list. See Viewing the documents.
Deleting a document of your organization
Outside the Admin area, you delete documents like any user, according to your access profile in the organization.
-
In the main menu, click Documents.

-
Check the box of the document you want to delete.

-
The actions available for the checked documents appear.

-
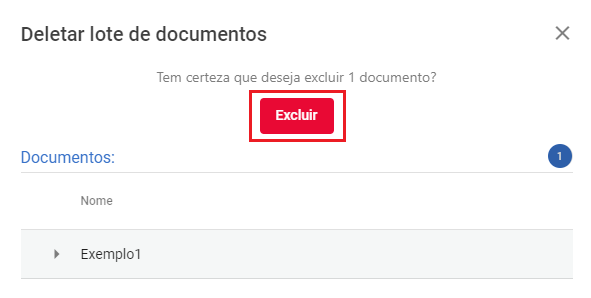
Click the trash icon and confirm with Delete.
-
Click Conclude.

What deletion does
- The document disappears from every user's lists, the Admin area included, and leaves its folder.
- When you delete a document with the trash icon on its row, on the Folders page, participants get a notice that
the document was deleted, unless the
DisableNotifyParticipantsOnDocumentDeletedsetting is on. Deleting from the Documents list or with Delete selected is a batch deletion and doesn't send that notice. See Notifications. - If the organization uses webhooks, Signer sends the
DocumentDeletedevent. - Up to version 3.2, there was no way to recover the document from the interface. From version 3.3.0, the system administrator and the organization administrator can restore it, as below.
Restoring deleted documents
From version 3.3.0, a deleted document can come back. It comes back with the same status, the same flow and to the same folder it was in.
The organization administrator restores the documents of the organizations they manage from the Deleted tab of the Documents list (in version 3.3.0, it was the Deleted documents button, on the organization page). See Deleted documents.
Recovery screen
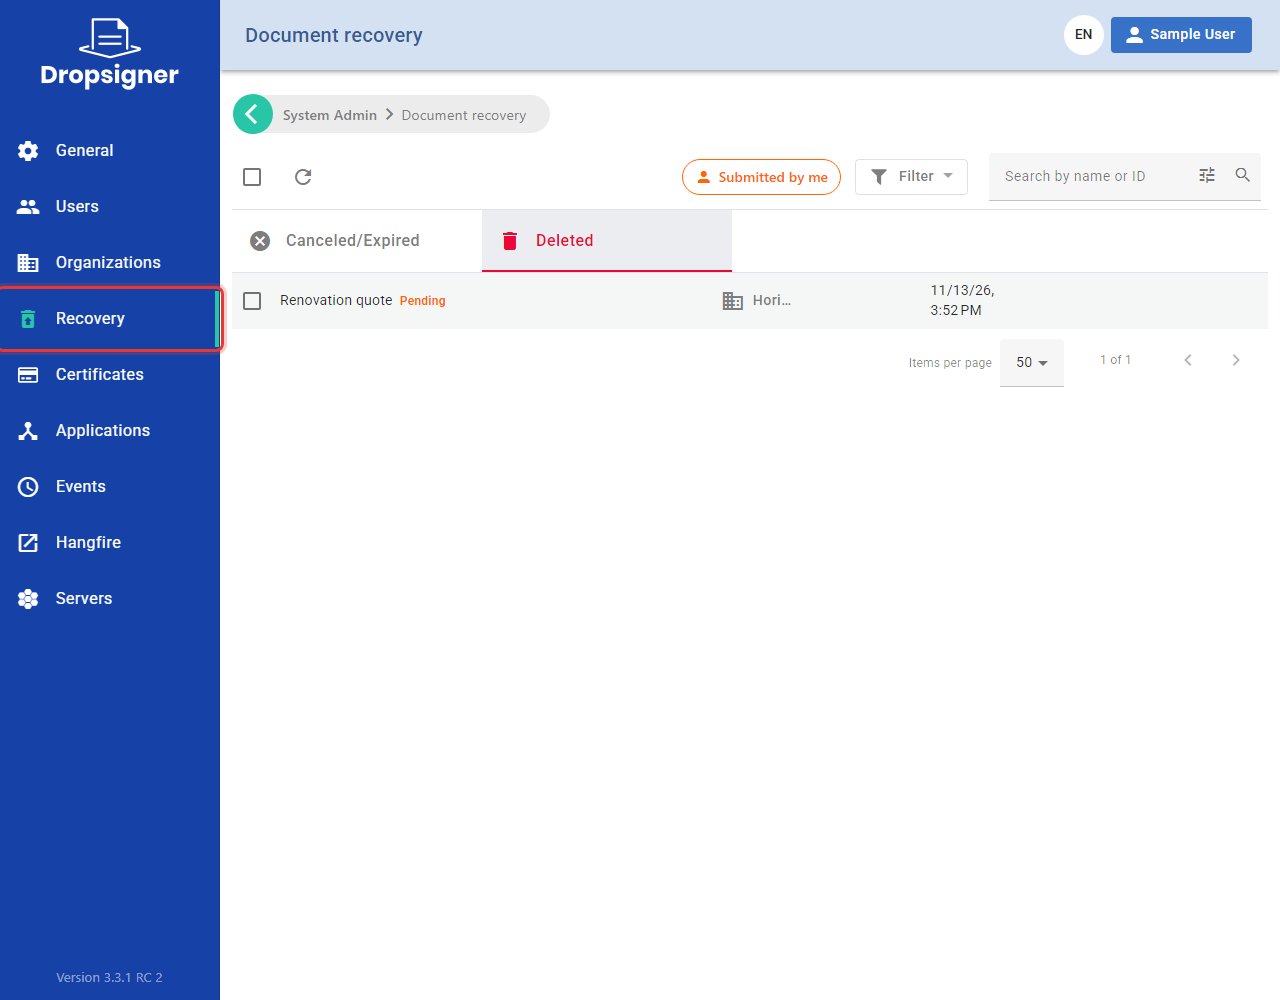
From version 3.3.1, the system administrator has a screen just for recovering documents of any organization: in System Admin, click Recovery. The Document recovery screen has the Canceled/Expired and Deleted tabs, and the Filter panel lets you pick the organization. From there, the steps are the same as in the document list: see Deleted documents and Canceled or expired documents.
From the organization's document list
In the Admin area, the system administrator restores documents of any organization:
-
Click Organizations, open the organization and click Documents. See Viewing the documents.
-
Click the More options button (⋮), next to the search, and pick Show deleted items. The list now shows only the deleted documents.
-
Check the documents and click Restore.
-
Check the number and click Restore to confirm.
-
Signer restores the documents in the background and shows the progress. You can close the window: the restore keeps running. At the end, each document shows the folder it went back to. Click Conclude.
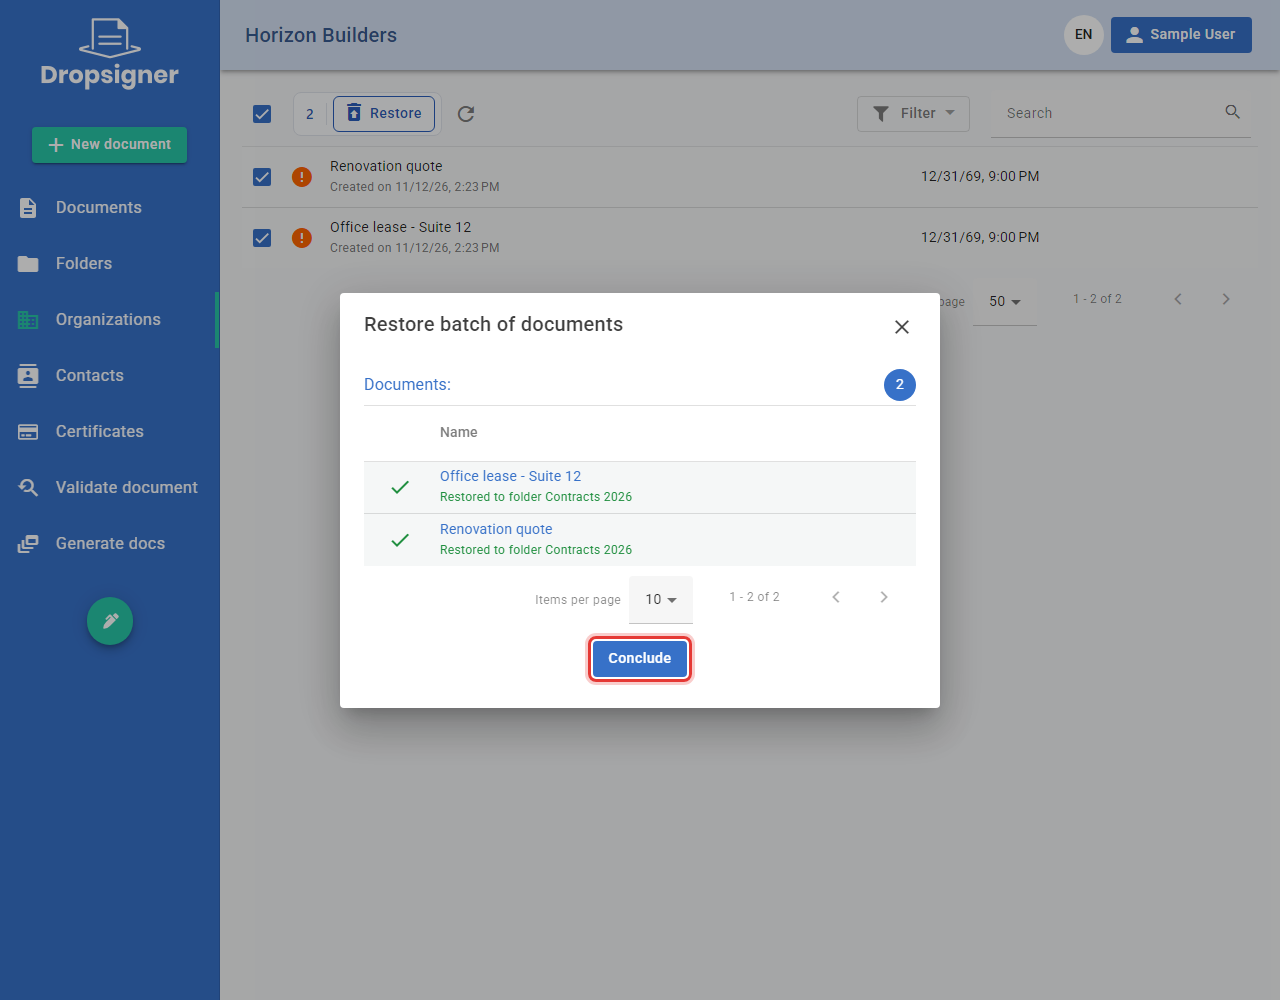
To go back to the normal list, pick More options › Show deleted items again.
What restoring does
- The document goes back to the lists of every user who had access to it.
- It goes back to the folder it was in. If that folder was deleted, it comes back without a folder.
- Participants get no notice of the restore. Whoever still had a pending action sees it again.
- If the document's expiration date passed while it was deleted, the document comes back already expired. To free it, use Restore status and check the option to remove the expiration date.
- The restore is recorded in the document's events.
Restoring canceled or expired documents
From version 3.3.0, the system administrator can put a canceled or expired document back in the status it had before it was canceled or expired. The signing flow picks up where it stopped.
-
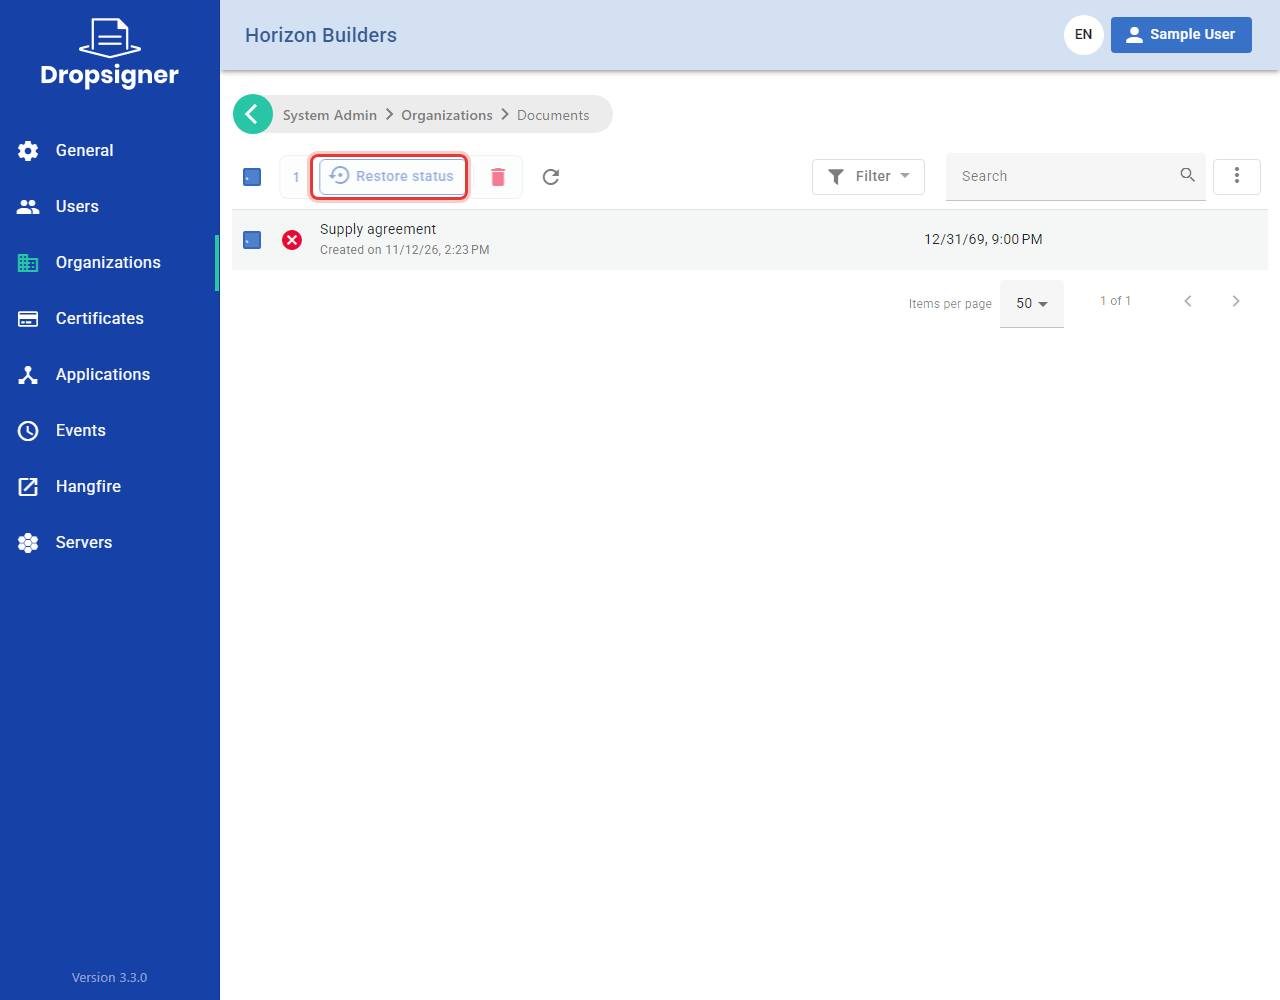
In the Admin area, open the organization's Documents list (see Viewing the documents) and check the canceled or expired documents. To find them faster, use Filter › Status.
-
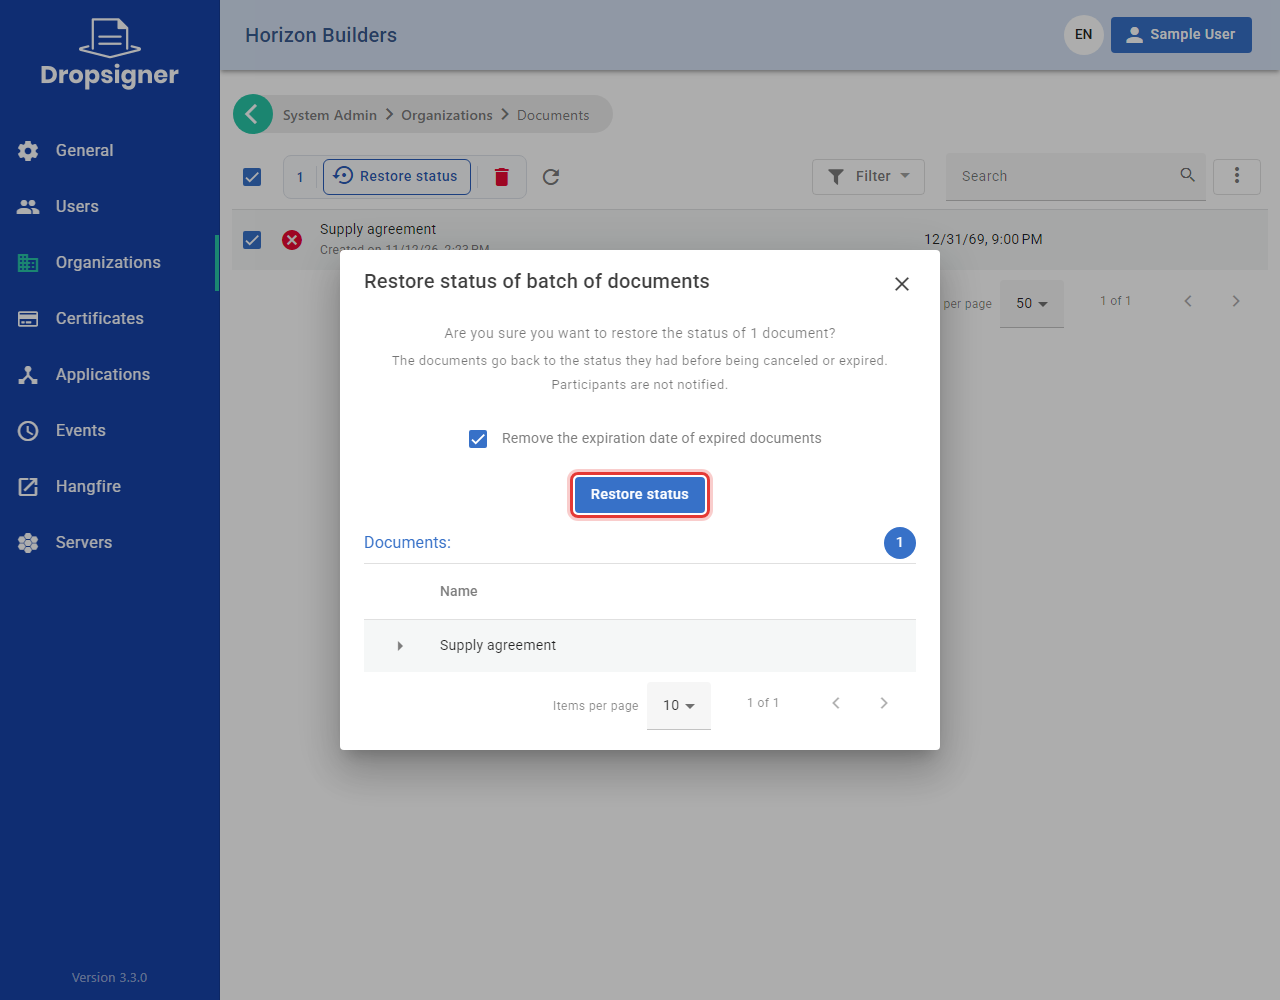
Click Restore status.
-
If there are expired documents, you can check Remove the expiration date of expired documents. Without it, a document whose expiration date already passed expires again.
-
Click Restore status to confirm.
-
Signer processes the documents in the background and shows each one's result. Click Conclude.
Participants get no notice of the restore. Up to version 3.3.0, only the system administrator restored status. From version 3.3.1, the organization administrator also does it, from the Documents list: see Canceled or expired documents.